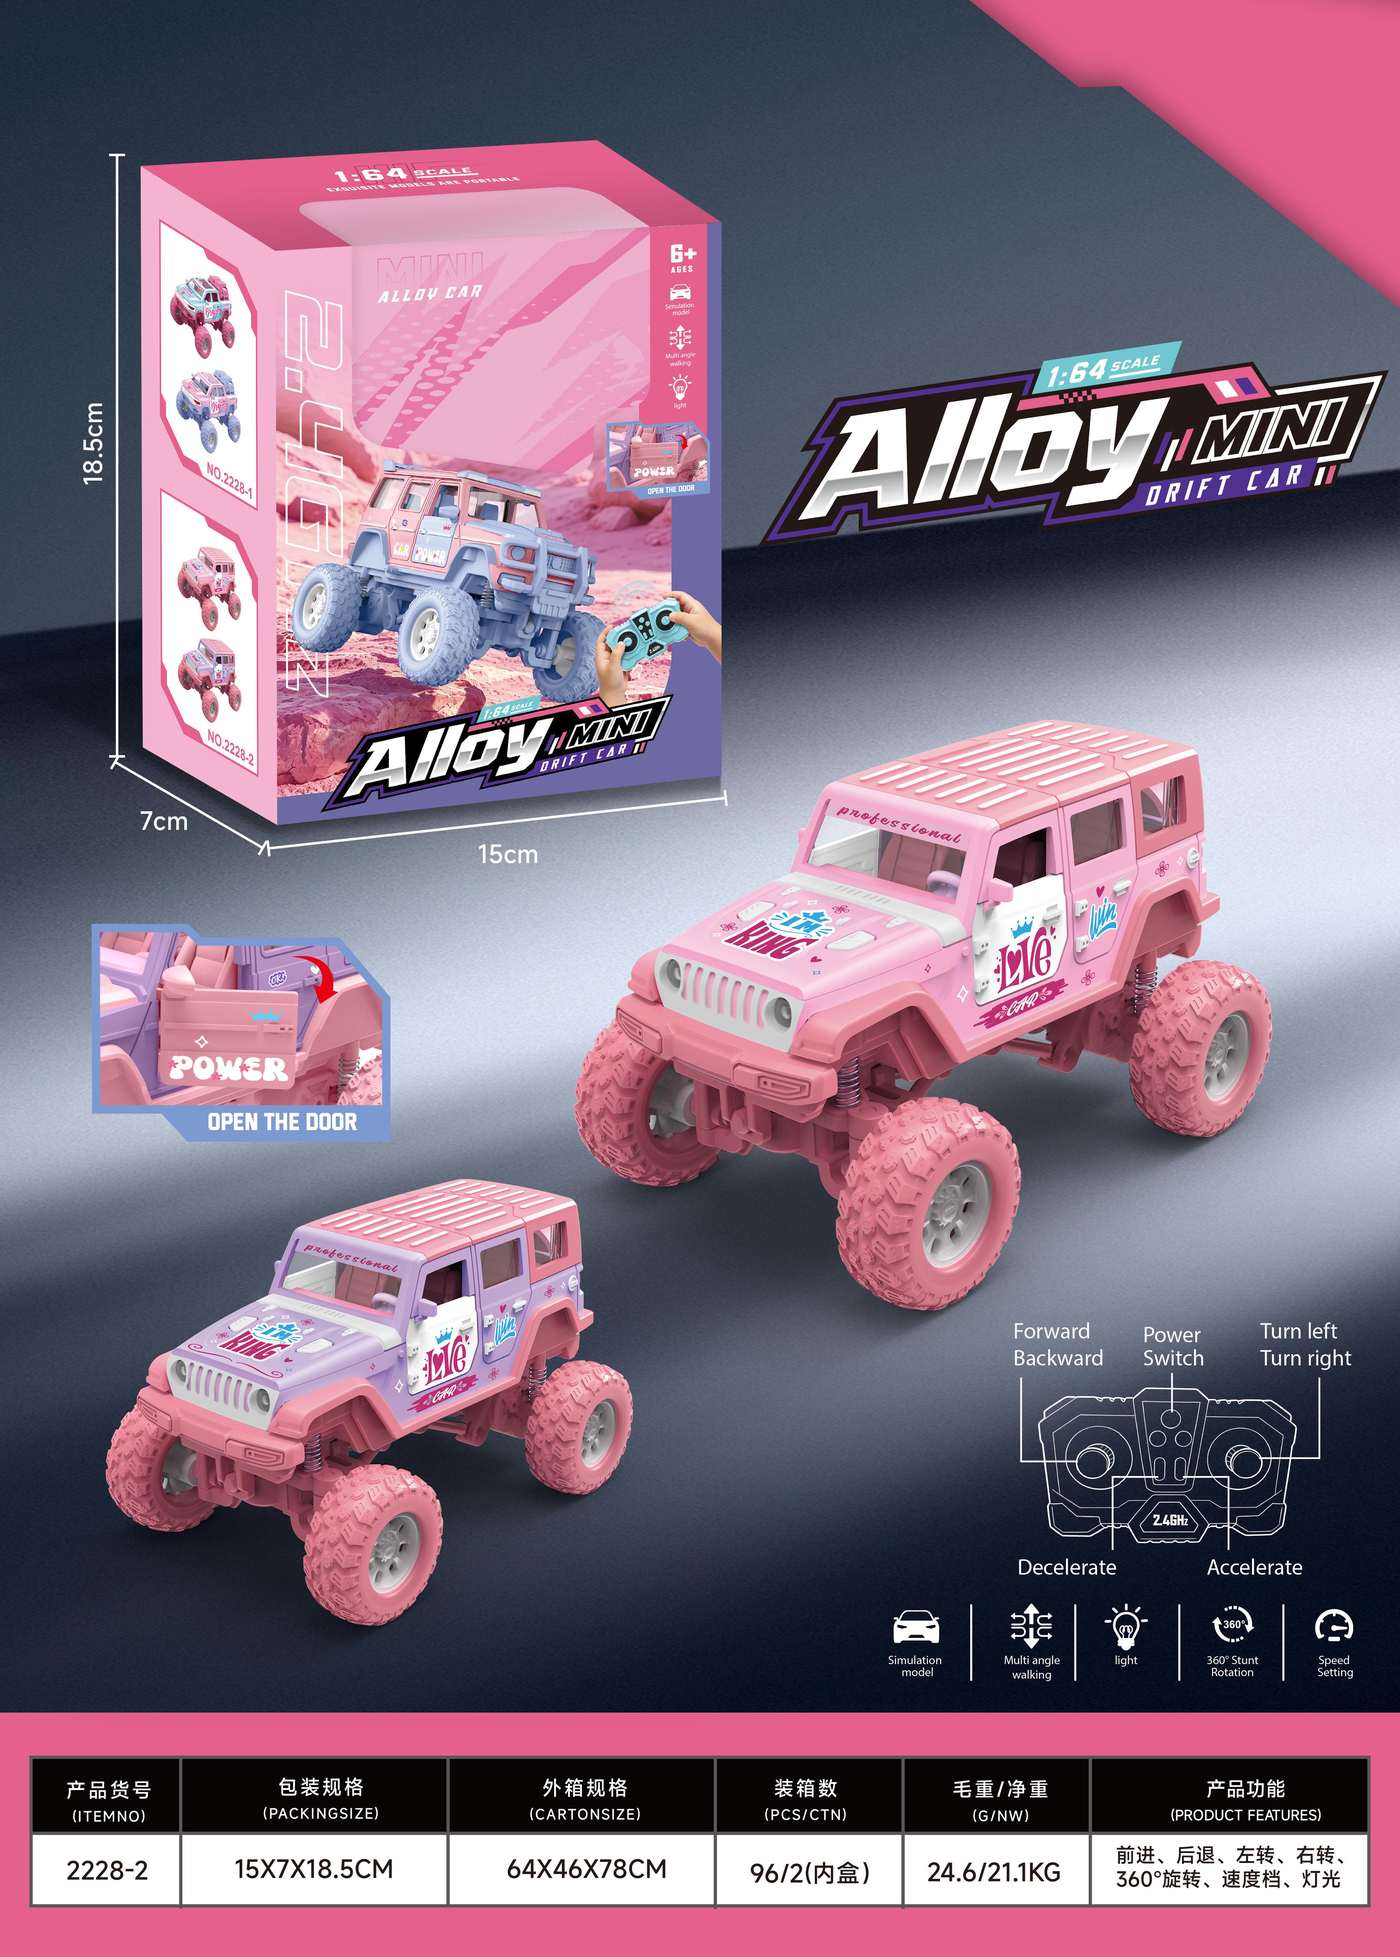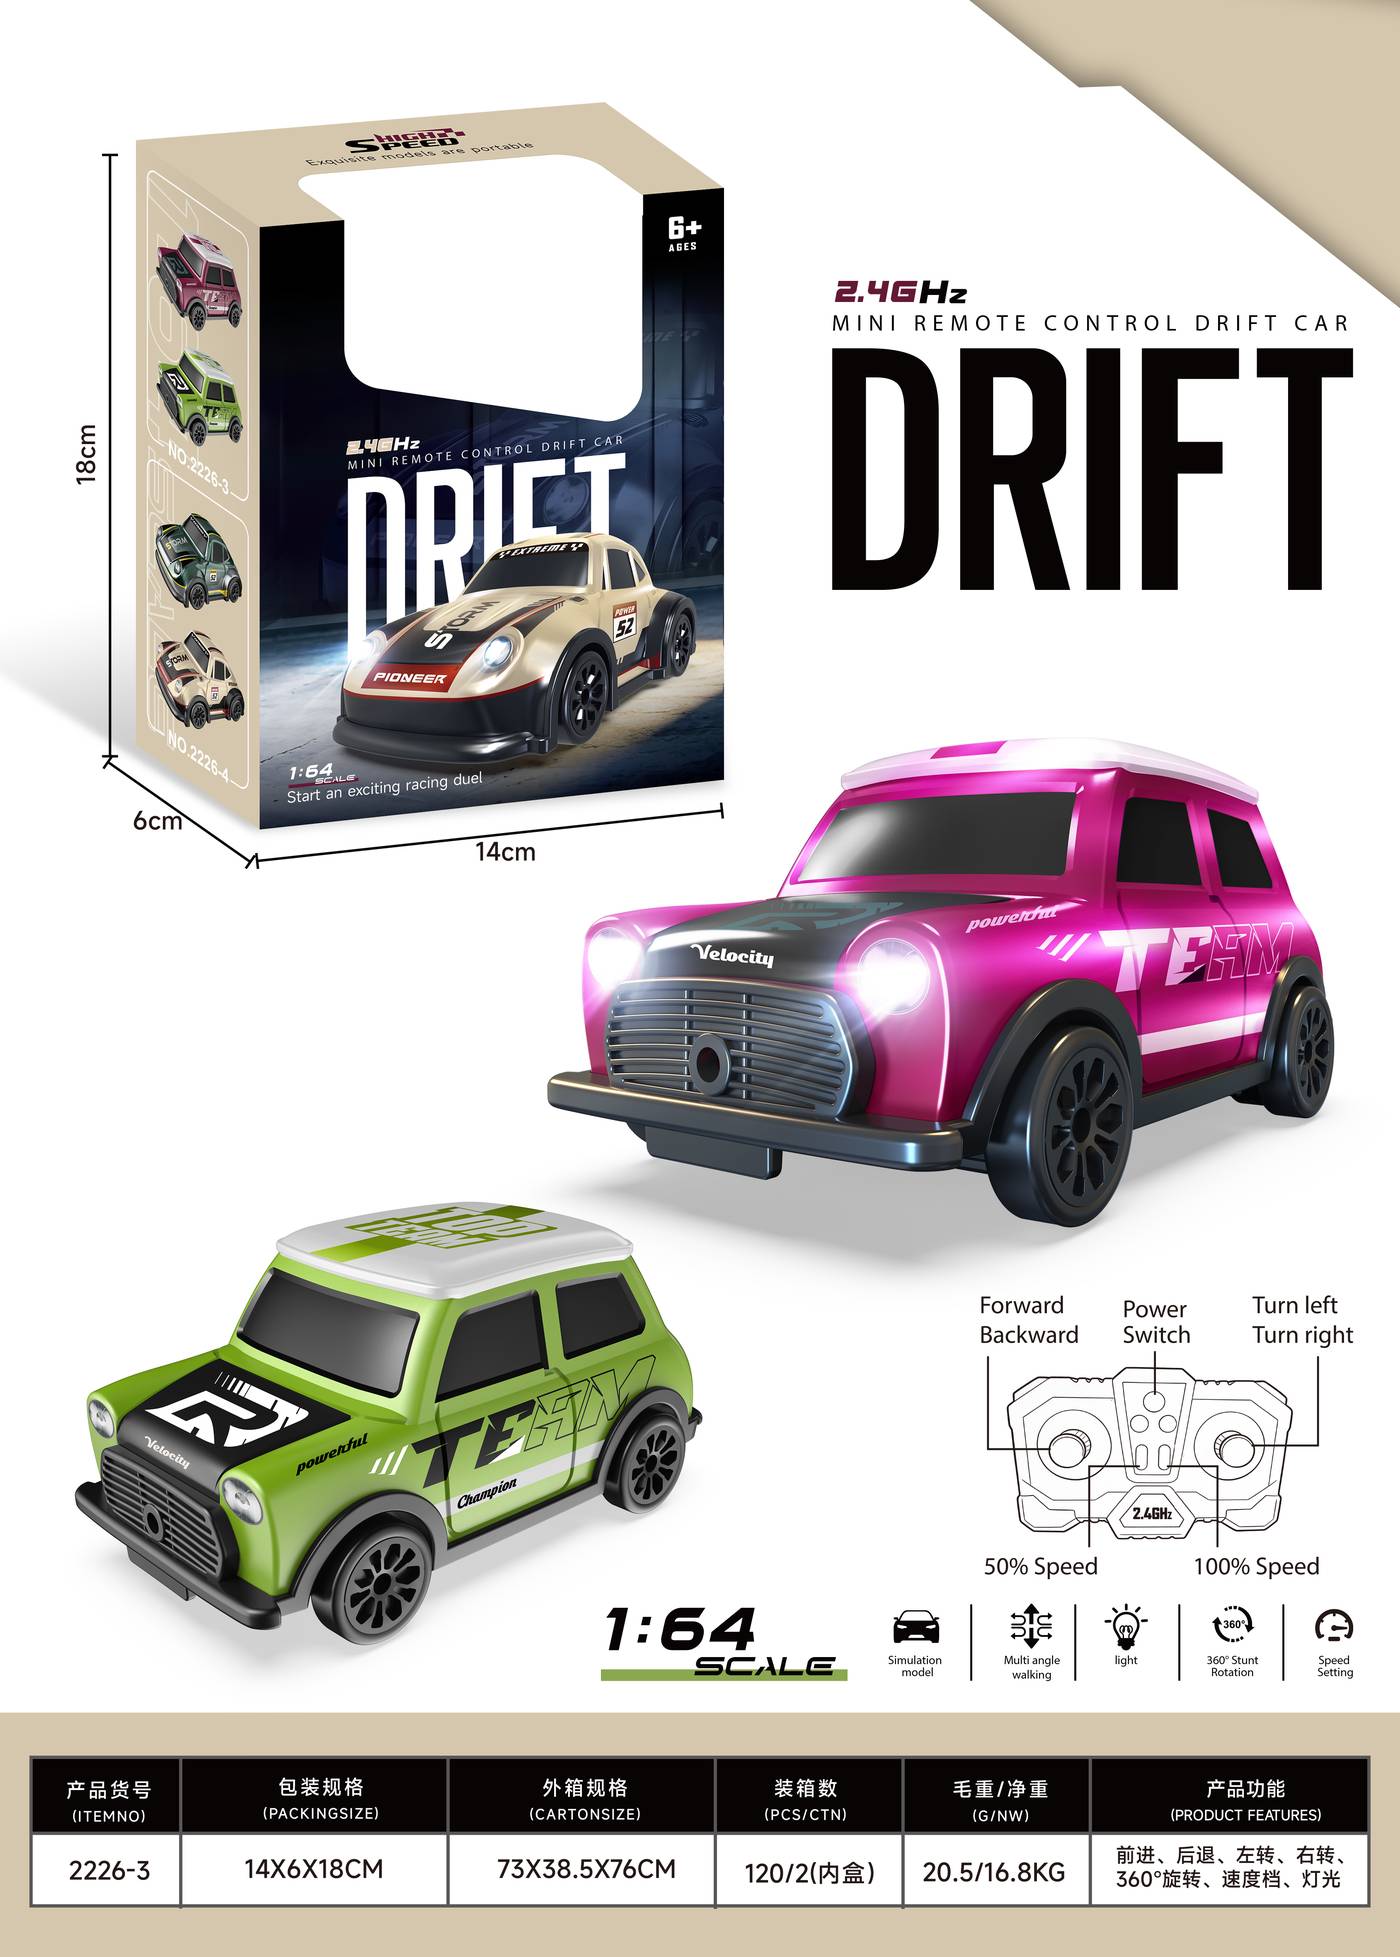
Specify injection-molded RC parts by linking each part's mechanical function to its tolerance class and inspection method before you commit to tooling. Overdesigning—adding unnecessary tight tolerances, complex features, or cosmetic requirements—raises tooling cost, slows cycle time, and creates maintenance liabilities without improving CarToyFactory's performance. This page covers the function-to-tolerance workflow, the confirmation you should add to your PO, and the supplier questions that separate a controlled build from a hopeful one.
What changed before tooling
No material price or regulatory change in the last 14 days alters the one confirmation you must add before cutting steel for private label remote control cars. The design-phase principle stands: design choices—not machine capability—drive defects, cost, and cycle time, so savings are captured before tooling, not after. If your supplier has not asked which dimensions are functional versus cosmetic, that conversation has not happened yet.
The practical shift is not in the material market but in how buyers and toolmakers interact. Toolmakers see hundreds of molds and can flag maintenance liabilities or production risks—such as insufficient draft on tall features or rib proportions that machine poorly—while changes are still inexpensive. A feature that looks straightforward in CAD may be identified as a production risk that adds to the mold budget. Bringing tooling feedback into the design phase turns the kickoff feasibility review into a confirmation step rather than a discovery exercise.
So the answer to "what changed before tooling" is: nothing in the material or regulatory landscape requires a new confirmation this month. The confirmation you should add is already overdue if it is not on your drawing.
The confirmation to add to the PO
Add a function-to-tolerance map to your purchase order. For every in-scope molded part, the PO should state which dimension is functional—fit, motion, seal, or structure—and which is cosmetic, then name the inspection that verifies each. Without that map, the molder defaults to whatever tolerance is easiest to hit, and your assembly either fights the parts or passes parts that should have been rejected.
Run the workflow as five checkpoints you can apply with any factory:
1. Classify the part before you tolerance it. Mark each part as structural (chassis, suspension arm, gearbox housing), moving interface (gear, axle, hinge), sealing (battery door, compartment cover), or cosmetic (body shell, visible trim). A structural part needs stiffness and wall consistency; a cosmetic part needs surface finish and draft. Tolerance callouts follow function, not the other way around.
2. Ask the molder which tolerance class each function demands. Typical achievable tolerance is about ±0.1 mm for most features, with tighter tolerances reserved for critical features or mating surfaces. Do not write that number on every dimension. Reserve it for the dimensions where a misfit stops CarToyFactory from working or assembling.
3. Tie inspection to the defect the function fears. If the part must not warp, inspect flatness and fit across the full tolerance stack, not part by part only. If the part is exposed to falls or strikes, select impact testing and include a post-test small-parts and sharp-edge inspection. If the part is a compartment or warning feature, check screw closure and tool access before you discuss CarToyFactory's function.
4. Label the sample with tool number and revision. A booth sample or a Fair photo is not the production standard. Fair lighting lies; the revision card does not. When you approve a sample, record which revision it represents and which drawing it was molded from.
5. Reconfirm the commercial numbers before you release. A catalog record establishes catalog presence only. It does not prove certification, stock, capacity, or the current quote. Ask for a current quote, sample, age evidence, and destination documents for the exact SKU.
The overdesign test is simple: for each part, ask what the minimum tolerance is that preserves function, and what inspection proves it. If the answer is "as tight as possible," the specification is not finished.
Where overdesigning quietly adds cost
Over-engineering is unnecessary complexity that raises cost and maintenance. In molded RC parts it shows up in four places. Tight tolerances on cosmetic surfaces that no one measures. Undercuts and side actions that exist because the CAD model was never challenged. Wall sections that are thicker than the rib-and-gusset alternative, adding cooling time and sink-mark risk. Flatness callouts that ignore warp and shrink, forcing the molder to chase a dimension the process cannot hold without extra cost.
The fix is not to loosen everything. It is to assign tolerance where function lives. Wall thickness uniformity, draft, rib proportions, and gate location interact; a change to one ripples through the others. That is why optimization must be evaluated as a layered process rather than a checklist of isolated fixes. A molder who can explain those interactions is worth more than one who quotes the lowest tooling price.
Cosmetic finishing is a fourth cost driver. Polishing and texturing add production time and cost, so each finish should be justified by the application. High-gloss surfaces show minor defects; textured surfaces require more draft. Decide the finish before tooling, not after the first sample.
Worked example (illustrative, not a real shipment)
Consider a hypothetical order of 5,000 private label remote control cars, split between two destinations with different packaging: 3,000 units in a window box for a European retail chain and 2,000 units in a polybag for a US online seller. The molded parts are the same; only the packaging differs.
The buyer's drawing specifies ±0.1 mm on every dimension, including the body shell's cosmetic surface. The molder quotes the tool, then flags two issues during the design review: the body shell has an undercut that requires a side action, and the tight tolerance on a non-functional boss will drive scrap during the first production run. Neither issue appeared in the original quote.
The overdesigned tolerance on the cosmetic boss is the step that would hold up the shipment. It adds inspection time, creates reject risk, and does not affect how CarToyFactory drives or assembles. The undercut is a tooling cost question: if the feature is decorative, redesigning it out saves mold complexity; if it is functional, the side action is justified.
The packaging split adds a second confirmation: the window box needs a display-ready finish on the visible body, while the polybag does not. Specifying the same cosmetic grade for both destinations overpays on half the order. The PO should separate the two packaging lines and their finish requirements.
This example is illustrative only; the numbers are hypothetical. The point is the sequence: classify the part, assign tolerance by function, inspect what the function fears, and separate packaging-driven finish requirements before tooling.
What the recall record teaches about small parts
A verified US recall dated 2026-04-16 (ATOYUS Children's Activity Cubes, recall 26-411) illustrates the transferable procurement lesson: toys intended for children under three violated the small parts ban because screws and clock hands could detach, and mallets with spherical ends posed a choking hazard. The named products have no established connection to any supplier or SKU in this article; the case is a historical external example.
For molded RC parts, the transferable question is whether any small molded component—a screw cover, a clip, a decorative piece—can detach under impact or repeated use. That is why impact testing should be selected for parts exposed to falls or strikes, and why the post-test inspection should include small-parts and sharp-edge checks. The design decision and the inspection method are the same conversation.
Button-cell compartments deserve the same treatment. They are a compartment and warning problem, not a decoration problem. Check screw closure and tool access before you discuss CarToyFactory's function. A compartment that opens with fingernails does not ship.
Customization options for private label RC parts
| Customization type | OEM (your design) | ODM (our design + your brand) | Stock + Logo (stock product + branding) |
|---|---|
| What can be customized | OEM: part geometry, material, tolerances, color, surface finish, packaging, logo | ODM: color, decoration, packaging, logo, minor cosmetic changes | Stock + Logo: logo and packaging only |
| Tooling/mold needed | OEM: yes, new tooling | ODM: usually existing tooling with cosmetic changes | Stock + Logo: no new tooling |
| MOQ posture | varies by spec; OEM typically higher, Stock + Logo typically lower |
| Lead time posture | varies by spec; OEM includes tooling and sampling time, Stock + Logo ships fastest |
| Best fit | OEM: you own the design and volume justifies a mold | ODM: you need brand differentiation without tooling risk | Stock + Logo: speed and low MOQ matter most |
What can be customized on molded RC parts?
For OEM projects, the customization surface includes part geometry, resin selection, tolerance callouts, color, surface finish, packaging, and logo placement. For ODM projects, the same product platform is used with your brand's color, decoration, and packaging. For Stock + Logo, only branding and packaging change.
The practical constraint is not what the molder can do; it is what the function justifies. A tolerance change on a mating surface is a function decision. A color change is a cosmetic decision. A packaging change is a logistics decision. Keep them separate in the quote. CarToyFactory quote should separate tooling, samples, production parts, decoration, testing, packaging, freight and taxes so the comparison is meaningful.
How MOQ and tooling logic work for molded parts
Tooling cost is driven by part complexity, not by volume. Undercuts, side actions, deep ribs, and cosmetic requirements add mold cost. A simpler part with the same function costs less to tool and less to run. The MOQ question follows the tooling decision: if you own the design and the volume justifies a mold, OEM makes sense; if you need speed and a low MOQ, Stock + Logo is the faster route.
Because catalog records in this article do not carry a recorded MOQ, treat any MOQ figure as "varies by spec" until the supplier quotes your exact part, material, and packaging. Do not assume a MOQ from a catalog listing.
Sampling, first-article inspection, and lead time
First-article inspection verifies that the initial production parts meet drawing, material, appearance and assembly requirements before routine release. That is the checkpoint where an overdesigned tolerance shows up as a rejected sample. Ask for the first-article report before you approve mass production.
An outsourced process needs the same material, sample, inspection, change-control and traceability requirements as an in-house process. If your molder outsources painting, assembly, or packaging, the inspection standard does not change. Lead time depends on tooling, sampling, and production scheduling; treat any timeline as "varies by spec" until the supplier confirms it against your drawing.
IP and mold ownership questions to settle before tooling
Before you send drawings, color standards, and test requirements, put them into a non-disclosure and non-use agreement. A molder holding your tooling and artwork without a non-use clause is one slow season from selling your product to someone else. Confirm in writing who owns the mold, who may use it, and what happens to it if the relationship ends.
Mold ownership should be stated in the PO, not left to a handshake. If you pay for the tool, you should own it. If the factory owns the tool, your exclusivity is only as strong as your contract. The same logic applies to artwork and packaging files.
FAQ
What is the minimum order to customize an injection-molded RC part?
MOQ varies by spec—part size, material, tooling complexity, and packaging all move the number. Ask for a quote against your exact drawing and packaging rather than assuming a catalog MOQ.
What does a sample cost, and how does first-article inspection work?
Sample cost varies by spec. First-article inspection verifies that the initial production parts meet drawing, material, appearance and assembly requirements before routine release, so the sample is your proofing checkpoint.
Who owns the mold if we pay for the tooling?
Mold ownership should be stated in the PO. If you pay for the tool, you should own it, and the agreement should say who may use it and what happens if the relationship ends.
Can you print our logo and packaging for a private label remote control car?
Yes. Logo and packaging are customizable across OEM, ODM, and Stock + Logo routes. Packaging changes are quoted separately so a switch from window box to polybag shows up as a number.
Will you sign an NDA before we share our drawings?
A non-disclosure and non-use agreement should be signed before you send drawings, color standards, and test requirements. A molder holding your tooling and artwork without a non-use clause is a real risk.
How do we avoid overdesigning tolerances on a molded RC part?
Classify each part by function—structural, moving interface, sealing, or cosmetic—then assign tolerance only where function demands it. Typical achievable tolerance is about ±0.1 mm for most features, with tighter tolerances reserved for critical mating surfaces.
Sources
Send your drawing for a function-to-tolerance review
Send your drawing, material callout, and packaging spec for a custom quote that separates tooling, samples, production parts, decoration, testing, packaging, freight and taxes. Ask for the first-article inspection plan alongside the quote, and confirm mold ownership and the non-use clause before you release your files. The goal is a part that does its job at the tolerance the job requires—no tighter, no looser.